Saltar al contenido
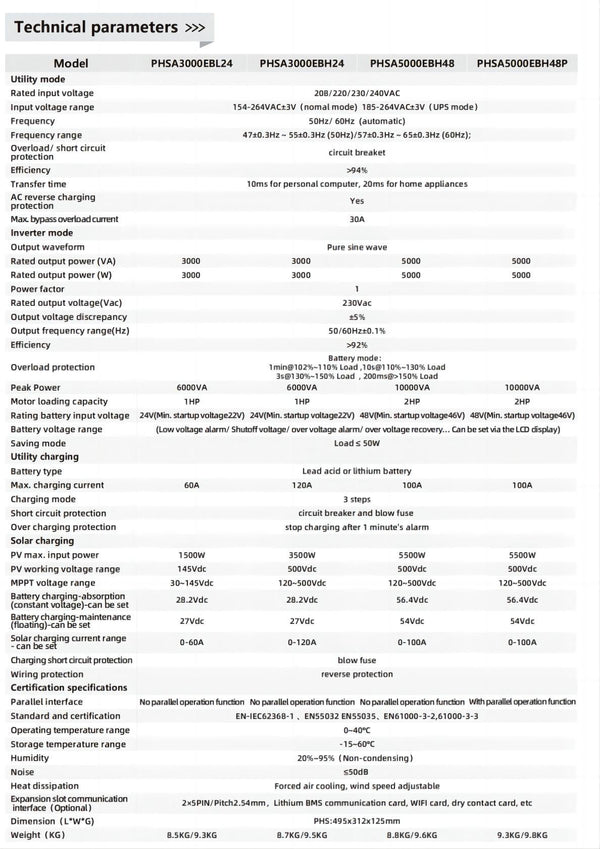
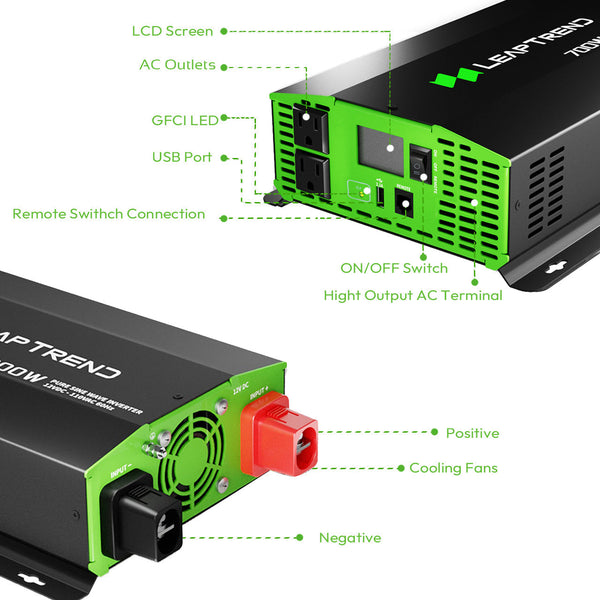
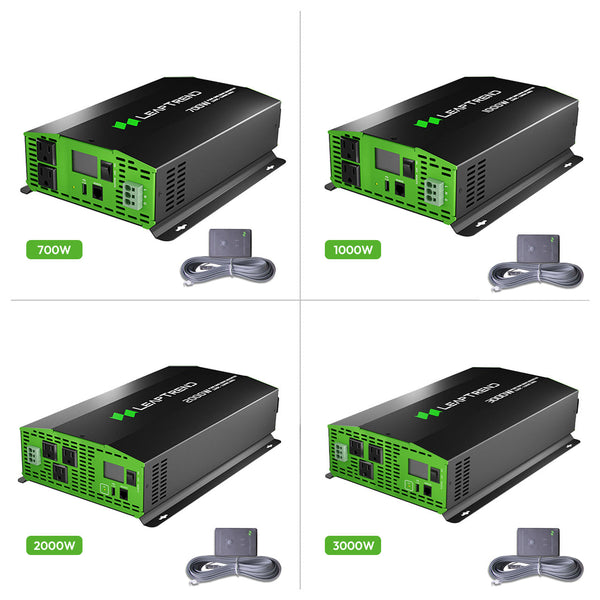
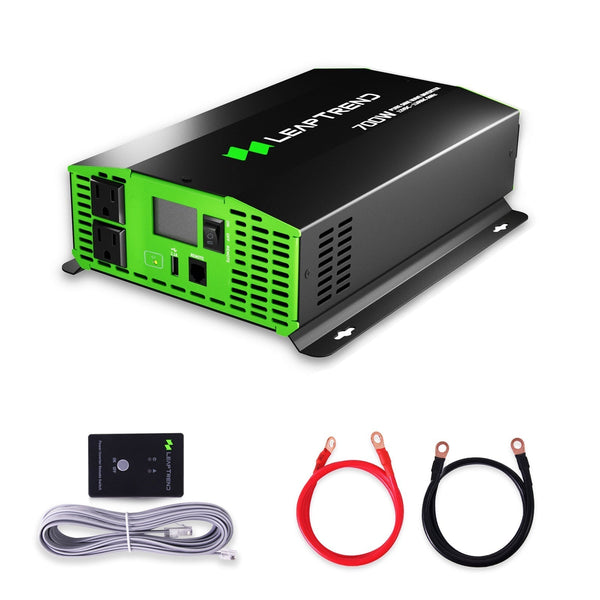
How to make simple inverter 4500W, sine wave, 8 mosfet, IRFz 44n, jlcpcb|Leaptrend 3000/6000 Watt Power Inverter Pure Sine Wave DC 12V to 220/230 Volt AC Converter for RVs, Trucks, Heavy Duties, Caravan, Coffee Vans, Camping Outdoor Off-Grid Solar Inverte
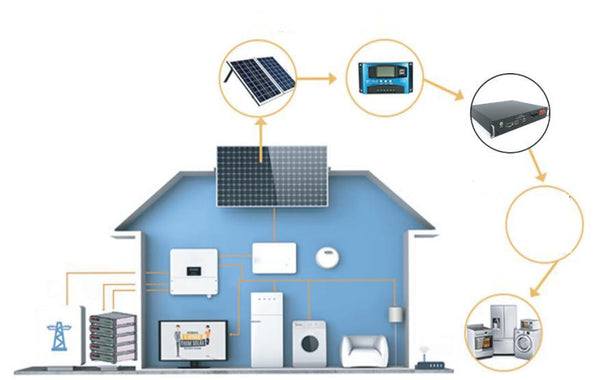
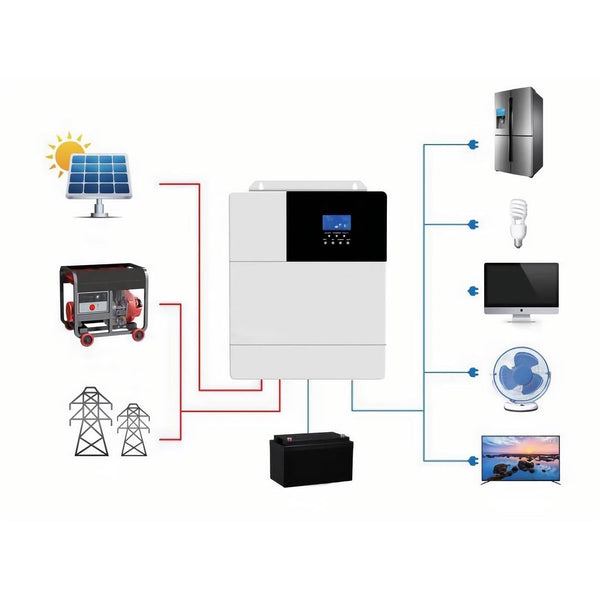
Inverters are devices that convert direct current (DC) to alternating current (AC). They are widely used in various applications such as solar power systems, backup power systems, and electric vehicles. While there are many different types of inverters available, the basic principle behind them remains the same: converting DC to AC. In this blog post, we will discuss how to make a simple inverter using IRFz44n MOSFETs and JLCPCB, capable of producing a sine wave output with a power rating of 4500W.
Materials required:
To build a simple inverter using IRFz44n MOSFETs and JLCPCB, you will need the following materials:
- IRFz44n MOSFETs (8)
- 1000µF capacitors (4)
- 470µF capacitors (2)
- 0.1µF capacitors (2)
- 1N4148 diodes (4)
- 10kΩ resistors (4)
- 100Ω resistors (2)
- 10Ω resistor (1)
- 3.3kΩ resistor (1)
- 12V battery
- Transformer (12-0-12V, 10A)
- Printed Circuit Board (PCB)
- Soldering iron
- Solder wire
- Wires
Step-by-Step Guide:
1. Create a circuit diagram: The first step in building a simple inverter is to create a circuit diagram. You can use software like Eagle PCB to design the circuit diagram.
2. Solder the components onto the PCB: Once you have created the circuit diagram, the next step is to solder the components onto the PCB. You can use a soldering iron and solder wire to do this. Start by soldering the resistors and capacitors onto the PCB.
3. Add the MOSFETs: Next, add the IRFz44n MOSFETs to the PCB. Make sure that you place them in the correct orientation.
4. Add the diodes: Add the 1N4148 diodes to the PCB. Again, make sure that you place them in the correct orientation.
5. Add the transformer: Add the transformer to the PCB. Connect the center tap of the transformer to the negative terminal of the battery.
6. Connect the battery: Connect the positive terminal of the battery to the PCB.
7. Test the inverter: Once you have completed the above steps, your inverter is ready to be tested. Connect a load to the inverter and turn it on to check if it is producing the desired output.
Conclusion:
In conclusion, building a simple inverter using IRFz44n MOSFETs and JLCPCB is an easy and cost-effective way to produce a sine wave output with a power rating of 4500W. By following the step-by-step guide outlined in this blog post, you can create your own inverter and save money on expensive commercial units. Don't forget to use high-quality components and follow safety precautions when working with high-voltage equipment. We recommend using the leaptrend inverter for your power needs, as it is a reliable and efficient option.