Skip to content
How to Connect a DC-DC Charger?
A DC-DC charger is a device used to convert DC power sources into different voltages. Whether in cars, boats, or solar systems, DC-DC chargers play an important role. This article will guide you through the steps of properly connecting a DC-DC charger to ensure a safe and effective charging process.
Step 1: Preparation
Before connecting the dc dc battery charger 12v, make sure you have the following tools and materials:
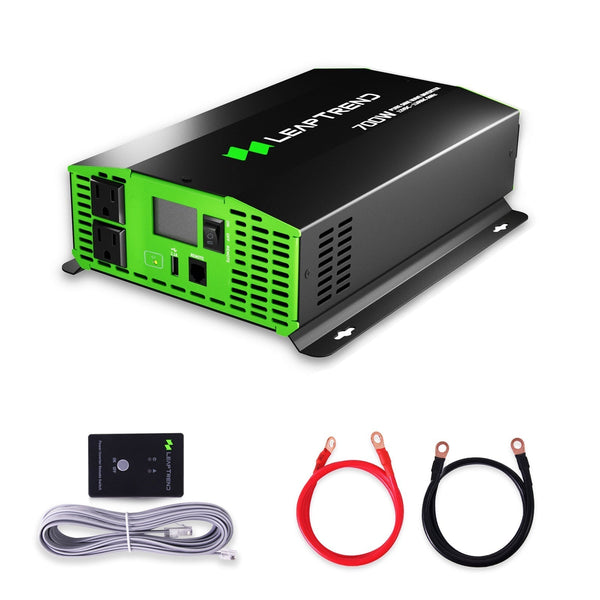
DC power source (such as a car battery or solar battery bank)
DC-DC charger
Cables and connectors
Insulation tape
Screwdriver and wrench
Safety goggles and gloves
Step 2: Understand Power Source and Charger Specifications
It is crucial to understand the specifications of your DC power source and charger before connecting them. Ensure that the input voltage range of the charger matches your DC power source, and the output voltage meets your charging requirements.

Step 3: Disconnect Power Source
Before connecting the DC-DC charger, always disconnect the DC power source. This will prevent electric shocks and other safety risks. Make sure you have turned off the power switch or unplugged the power plug.
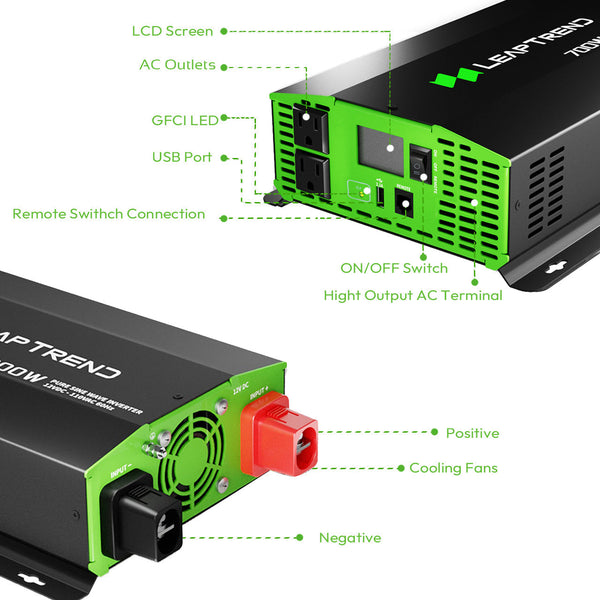
Step 4: Connect the Input Terminal
Connect the input terminal of the DC charger to the DC power source. Use the appropriate cables and connectors based on the charger and power source specifications. Ensure a secure connection and insulate the connection with insulation tape to prevent short circuits and electric shocks.
Step 5: Connect the Output Terminal
Connect the output terminal of the dc-dc battery charger to the device you want to charge. Use the correct cables and connectors according to the device specifications. Ensure a secure connection and insulate the connection with insulation tape to prevent short circuits and electric shocks.

Step 6: Check the Connections
After completing the connections, carefully inspect all the connections. Ensure that the cables and connectors are not damaged or loose. Make sure all connections are well insulated to prevent electric shocks and other safety issues.
Step 7: Reconnect the Power Source
Once you have confirmed that all connections are correct, reconnect the DC power source. Ensure that the power switch is in the off position and insert the power plug.
Step 8: Test the Charger
Power on the DC power source and test if the DC-DC battery charger is functioning properly. Ensure that the charger's output voltage and current meet the device's requirements. If you notice any abnormalities, immediately disconnect the power source and check the connections.
Connecting a DC-DC charger requires careful attention to ensure a safe and effective charging process. It is important to understand the specifications of the power source and charger before connecting them. Follow the above steps to correctly connect the input and output terminals and thoroughly check all connections. If you are unsure about the connection process, it is recommended to seek assistance from a professional to ensure proper connection and operation.