Skip to content
How to connect a power inverter in an RV
When it comes to RV travel, having reliable power is crucial. A power inverter can provide the power needed to run essential appliances and electronic devices, ensuring a smooth and enjoyable camping experience. In this article, we’ll look at how to hook up a power inverter in your RV to ensure safe and efficient operation.
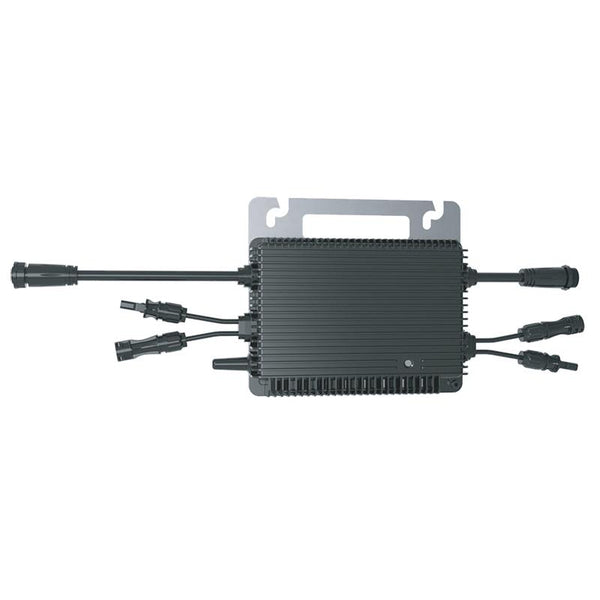
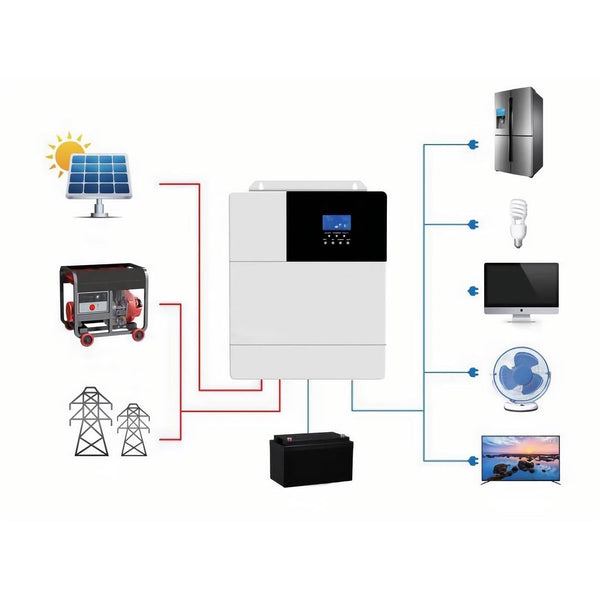
Understand the basics of power inverters
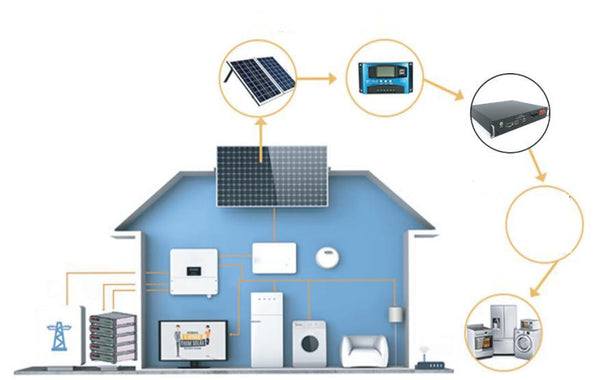
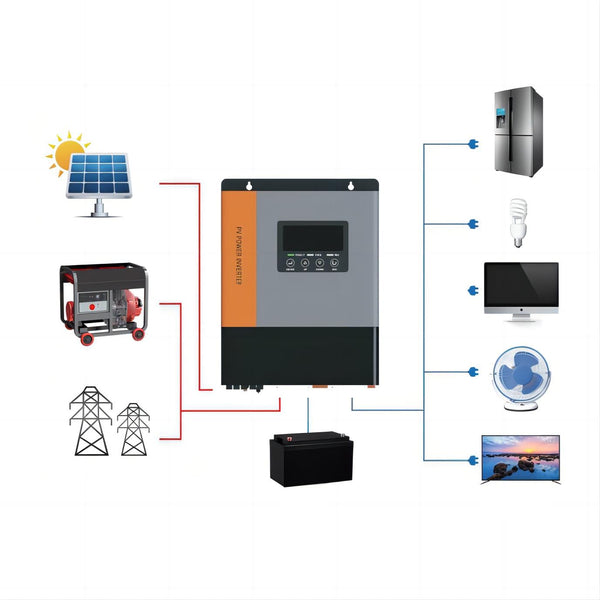
Before we delve into the installation process, it’s important to understand what an inverter is and how it works. A power inverter converts direct current (DC) power from your RV battery to alternating current (AC) power and is compatible with most home appliances and electronics. This allows you to power devices such as TVs, microwaves, and laptops while camping.
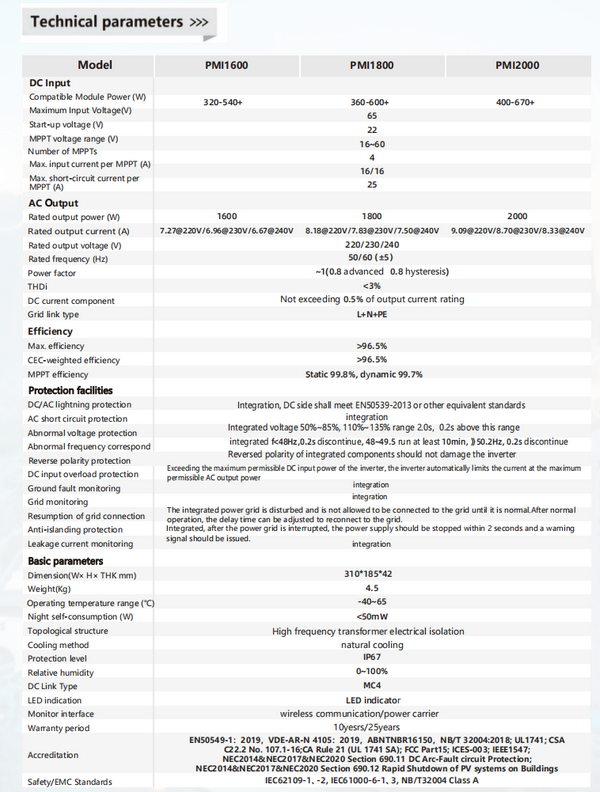
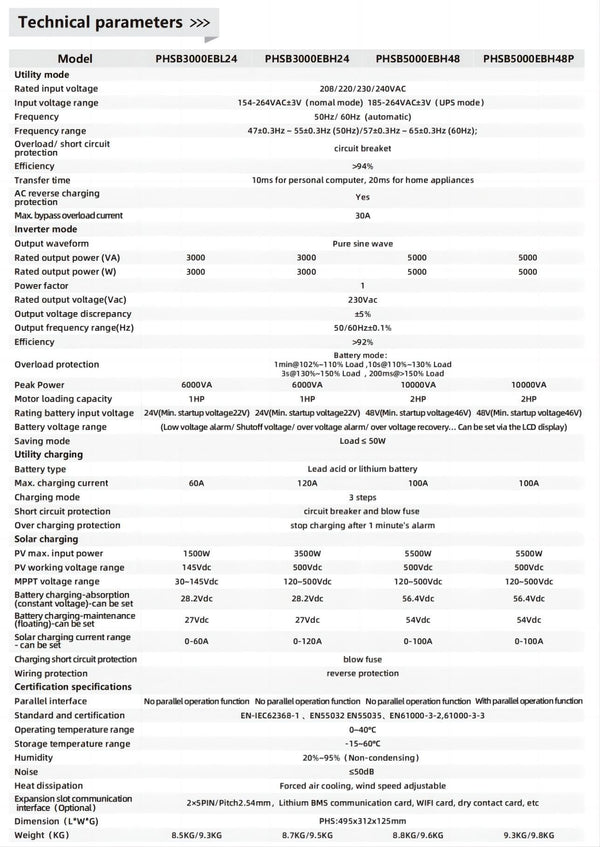
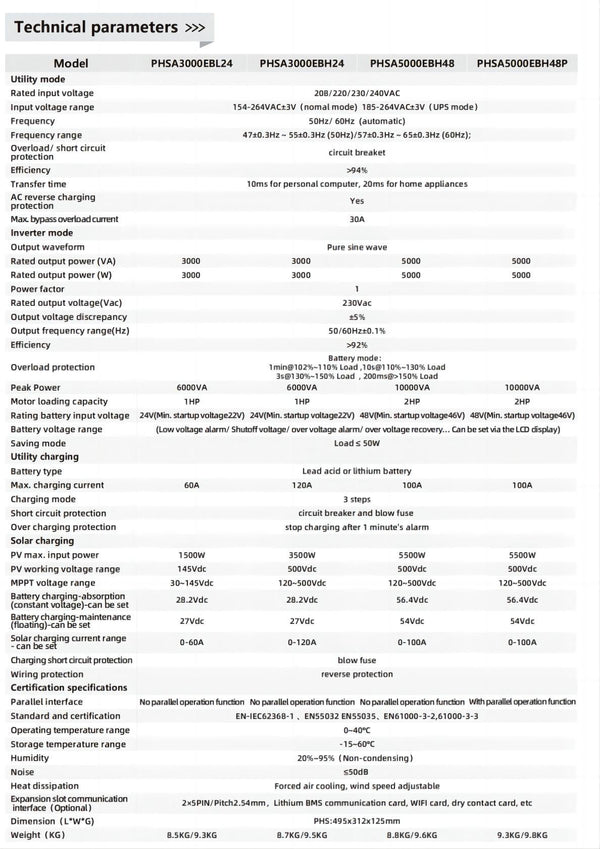
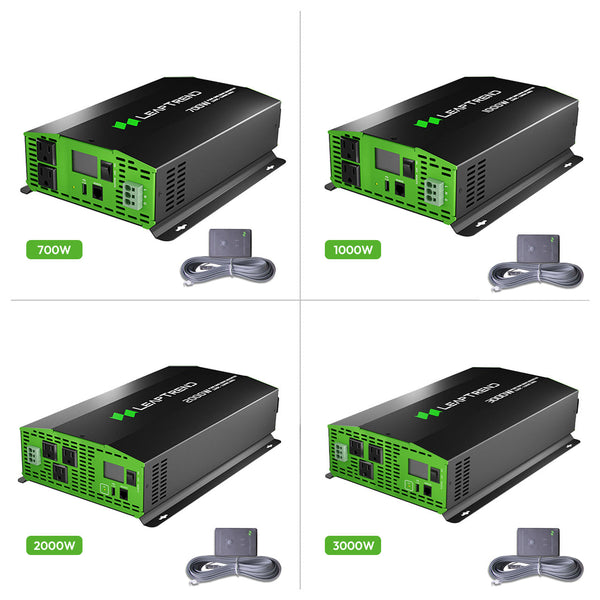
Choose the right inverter
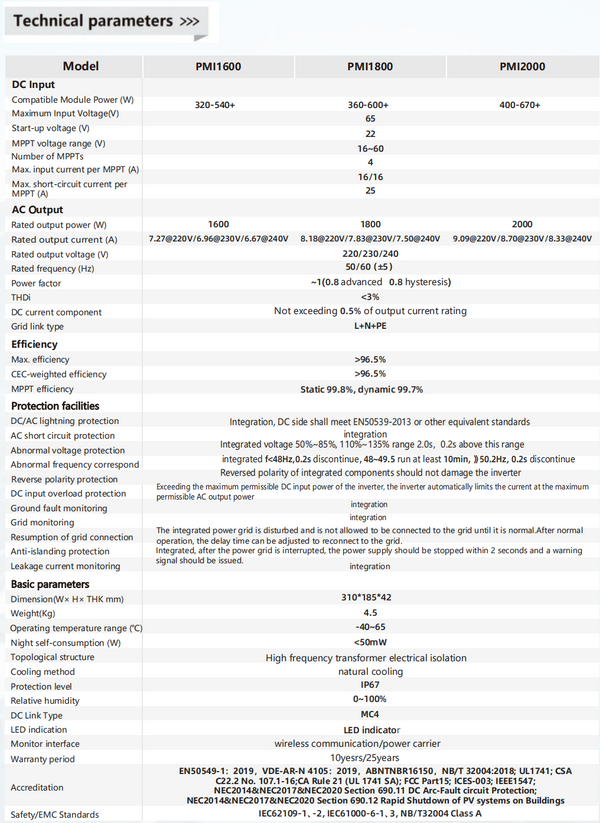
When choosing a power inverter for your RV, consider your power needs. Determine the wattage required to run the appliances and electronics you plan to use. Additionally, consider the size and weight of the inverter, as well as its efficiency and durability. Make sure to choose a model that is compatible with your RV’s electrical system.

Installation preparation
Before installing the inverter, prepare the necessary tools and materials. This may include wire cutters, wire strippers, crimp connectors, and wire nuts. Also, make sure you have a clear understanding of your RV's electrical system, including the location of the battery and the negative and positive terminals.
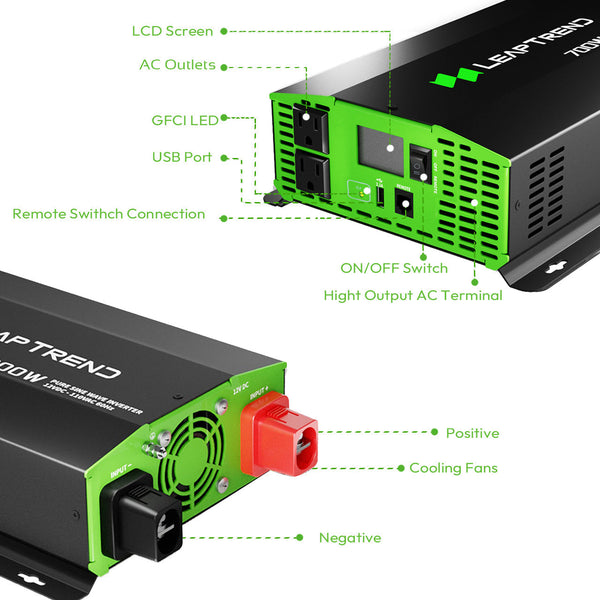
Install the inverter
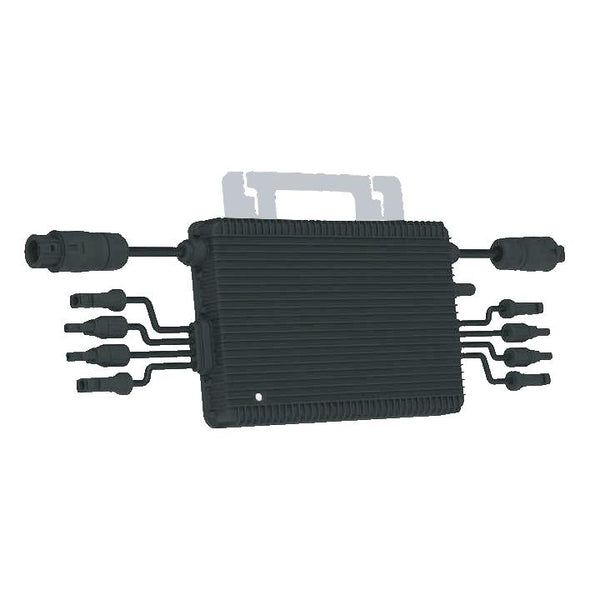
Start by finding a suitable location for the power inverter. Choose a place that is easily accessible and well ventilated. Install the inverter using brackets or screws to ensure it is safe and stable.
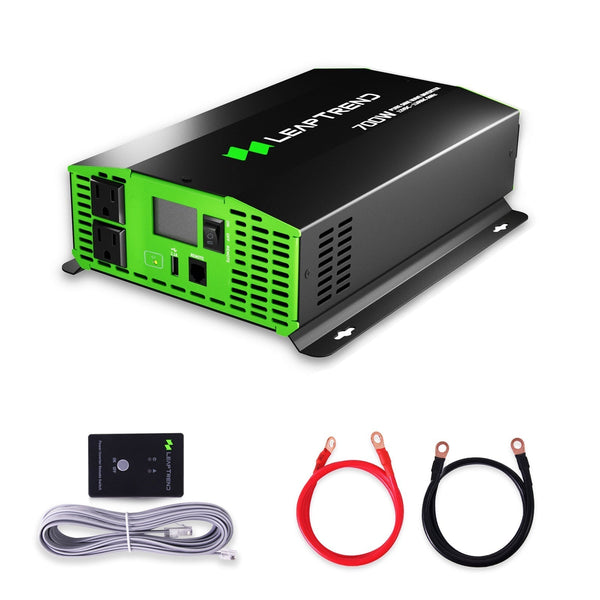
Next, connect the inverter’s power cord to your RV’s battery. Use appropriate wire gauge and length to connect the battery. Connect the red wire (positive) to the positive terminal of the battery and the black wire (negative) to the negative terminal. Use wire nuts or crimp connectors to secure the connection.
Test the system
After installing the inverter, it is important to test the system to ensure it is working properly. Turn on the RV's battery and check that the inverter is receiving power. Use a multimeter or voltage tester to check the voltage output of the inverter. Should be within the specified range.
Plug in a device or appliance to test the inverter's functionality. If everything is fine, the device should power on and run normally.
Safety precautions
Safety should be your top priority when installing and using an inverter in your RV. Always disconnect the battery before working on the electrical system. Use tools and materials appropriate for the job and follow manufacturer's instructions closely. Avoid overloading the inverter by exceeding its wattage capacity.
Hooking up a power inverter in your RV provides easy access to power while camping. By following the steps outlined in this article and taking the necessary safety precautions, you can ensure a safe, successful installation. With the right inverter, you'll be able to enjoy the great outdoors with all the comforts of home.