Skip to content
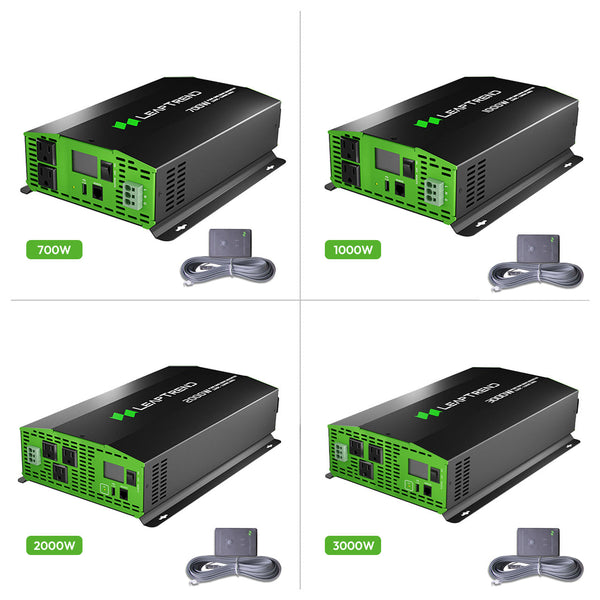
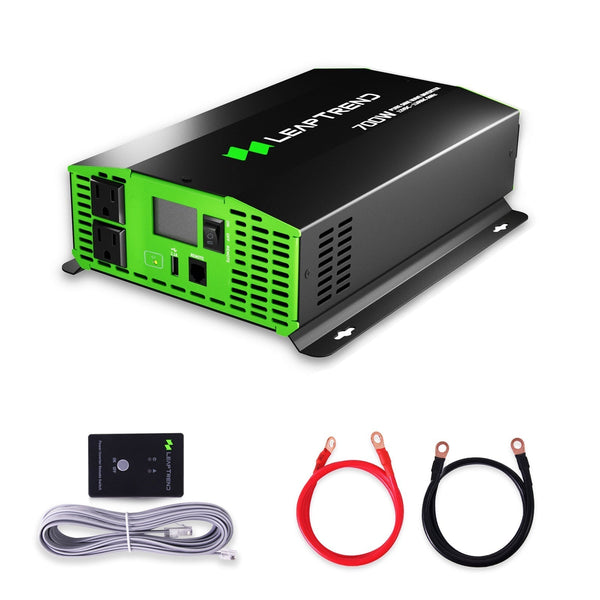
how to make simple inverter 1500W , sine wave , 4 mosfet , IRFz 44n , G40N60|Leaptrend 1000/2000 Watt Power Inverter for Lithium Batteries, DC 12V to 110V/120V AC Off-Grid Solar Pure Sine Wave Inverter on RV, Semi Truck, Coffee Van, Camping Outdoor, House
Creating a Simple 1500W Sine Wave Inverter with 4 MOSFETs (IRFz44n and G40N60) - A Guide
Inverters are essential devices that allow us to convert direct current (DC) power into alternating current (AC) power, enabling us to power various appliances and electronics. If you're in need of a 1500W power inverter, building your own can be a cost-effective solution. In this blog post, we will guide you through the process of creating a simple sine wave inverter with 4 MOSFETs, including IRFz44n and G40N60. For reliable and efficient results, we recommend considering the LeapTrend inverter.
Materials Required:
To create a simple 1500W sine wave inverter, you will need the following materials:
- IRFz44n MOSFETs (2)
- G40N60 MOSFETs (2)
- Printed Circuit Board (PCB)
- Resistors (various values)
- Capacitors (various values)
- Diodes (various types)
- Transformer (appropriate specifications for power and voltage conversion)
- Heat sinks (if required)
- Soldering iron
- Solder wire
- Wires
- Power source (DC input, such as batteries)
Step-by-Step Guide:
1. Design the circuit: Begin by designing the circuit for your 1500W inverter. Utilize software like Eagle PCB to create the circuit diagram. The design should include the necessary components and connections required for a sine wave output.
2. Gather the components: Once the circuit design is complete, gather all the required components. Ensure they match the specifications outlined in the circuit diagram. Using high-quality components is essential for optimal performance and safety.
3. Prepare the PCB: Prepare the PCB by soldering the resistors, capacitors, diodes, and other components onto it. Follow the circuit diagram carefully, ensuring correct placement and orientation of each component. Take your time to achieve clean and reliable solder joints.
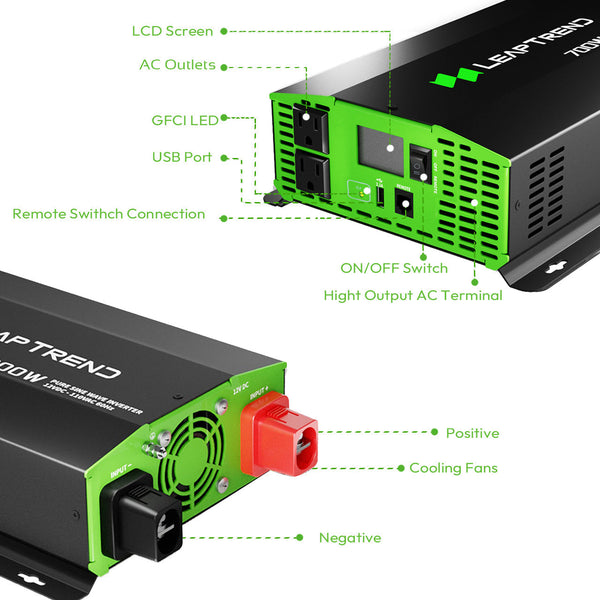
4. Install the MOSFETs: Install the IRFz44n and G40N60 MOSFETs onto the PCB. These components will be responsible for switching the DC power and generating the desired AC waveform. Ensure they are placed correctly and securely attached to heat sinks if necessary.
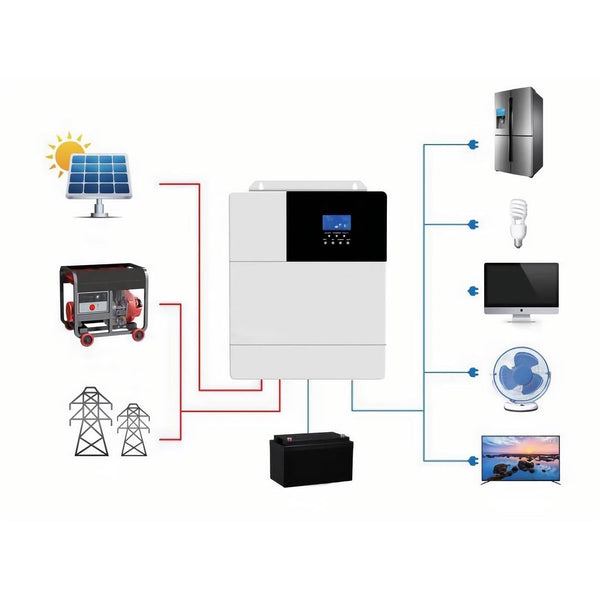
5. Connect the transformer: Connect the transformer to the appropriate terminals on the PCB. The transformer will step up or step down the voltage as required for your specific inverter design. Ensure the transformer is rated for the desired power output and has the necessary windings.
6. Connect the power source: Connect the power source, typically a DC input such as batteries, to the input terminals of the inverter circuit. Ensure the voltage matches the requirements of your design. Take precautions to prevent short circuits and use appropriate wiring.
7. Test the inverter: Once everything is connected, it's time to test your inverter. Gradually increase the power input while monitoring the output. Use suitable load devices to verify the waveform and stability of the AC power generated by the inverter. Ensure all connections are secure and there are no signs of overheating.
Conclusion:
Building a simple 1500W sine wave inverter with 4 MOSFETs, including IRFz44n and G40N60, can be a rewarding project that allows you to have a cost-effective power solution for various applications. By following the step-by-step guide provided in this blog post and using high-quality components, you can create your own inverter and enjoy the benefits of AC power.
It's important to note that working with high-power electronics requires knowledge and safety precautions. If you're not confident in your electrical skills, it